| Section | |||||||||||||
|---|---|---|---|---|---|---|---|---|---|---|---|---|---|
|

...
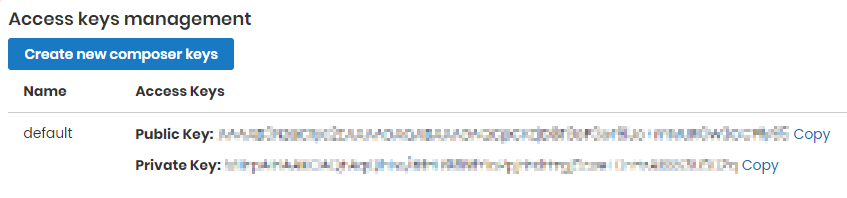
| Command Line Installation | Composer Installation | ||||||||||||||||||||||||||||||||||||||||||||||||||||||||||||||||||||||||||||||||||||||||||||||||||||||||||||||||||||||||||||||||||||||||||||||||||||||||||||||||||||||||||||||||||||||||||||||
|---|---|---|---|---|---|---|---|---|---|---|---|---|---|---|---|---|---|---|---|---|---|---|---|---|---|---|---|---|---|---|---|---|---|---|---|---|---|---|---|---|---|---|---|---|---|---|---|---|---|---|---|---|---|---|---|---|---|---|---|---|---|---|---|---|---|---|---|---|---|---|---|---|---|---|---|---|---|---|---|---|---|---|---|---|---|---|---|---|---|---|---|---|---|---|---|---|---|---|---|---|---|---|---|---|---|---|---|---|---|---|---|---|---|---|---|---|---|---|---|---|---|---|---|---|---|---|---|---|---|---|---|---|---|---|---|---|---|---|---|---|---|---|---|---|---|---|---|---|---|---|---|---|---|---|---|---|---|---|---|---|---|---|---|---|---|---|---|---|---|---|---|---|---|---|---|---|---|---|---|---|---|---|---|---|---|---|---|---|---|---|---|
|
|
.png?version=1&modificationDate=1613404666532&cacheVersion=1&api=v2&width=450)
Getting Around
| Section |
|---|
The extension introduces its section under Content > Custom Static Blocks by aheadWorks > Manage Blocks
Manage Blocks screen is the management center of the extension. Here store administrator can:
Here store administrator can also adjust the Manage Blocks screen look and feel according to requirements:
That is all for the Custom Static Blocks store backend pages. The extension does not have general settings as all the blocks are configured separately. |


Creating a custom static block
| Section | ||||
|---|---|---|---|---|
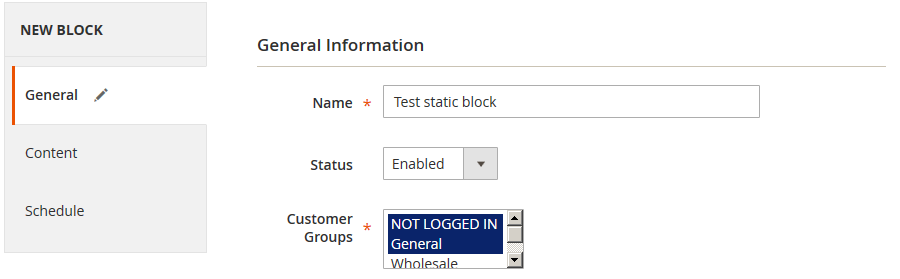
Click General
At the General section of the new static block page administrator is suggested to define where and how the block will be displayed. The screen offers the following settings:
This covers the placement aspects of the Custom Static Blocks.
ContentOnce done with the General section click Content in the navigation menu to your left:
At the Content section of the new static block page administator is suggested to define the static block's content. The content is defined by the CMS blocks available at your store. Before adding a static block's content make sure you have created appropriate CMS block under Content > Elements > Blocks.
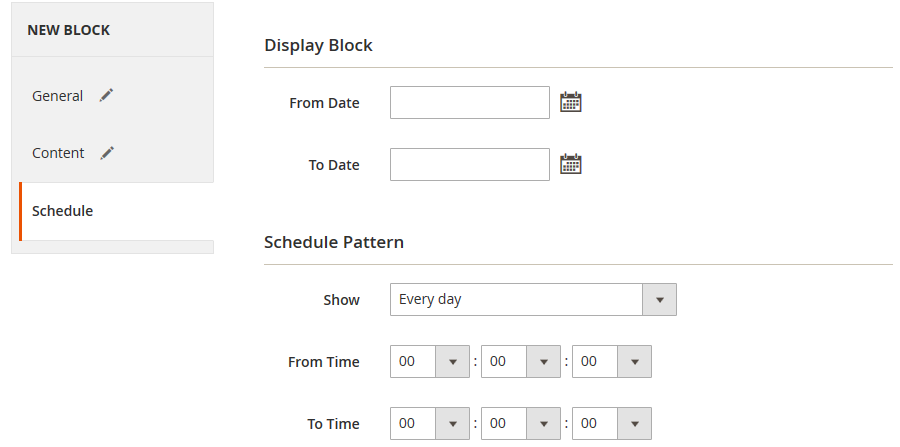
ScheduleThe final step of configuring the Custom Static Block is the Schedule section.
Here administrator is suggested if the block should be scheduled to display at a set time, or leave the fields blank to manually manage the block activity. The section is spilt into two sections: Display Block - defines from when and how long the block should be active, and Schedule Patter - defines on what schedule the block be displayed during the Display Block period. For example:
On such conditions the block will be displayed from January 1st to January 30th on the business week only: Monday, Tuesday, Wednesday, Thursday, Friday. From 8:00 to 13:00. Such scheduling settings may prove useful if you are intended on running a particular sales campaign to get more customers on business days. That covers the Custom Static Blocks settings. You may now want to create some static blocks to test the best possible display options. |


...
Need Customization?
.png?version=1&modificationDate=1564160693780&cacheVersion=1&api=v2)
You can always find the latest version of the software, full documentation, demos, screenshots, and reviews on on http://ecommerce.aheadworks.com
License agreement: https://ecommerce.aheadworks.com/end-user-license-agreement/
Contact Us: httphttps://ecommerce.aheadworks.com/contacts/contact
Copyright © 2021 Aheadworks Co. http://www.aheadworks.com
...